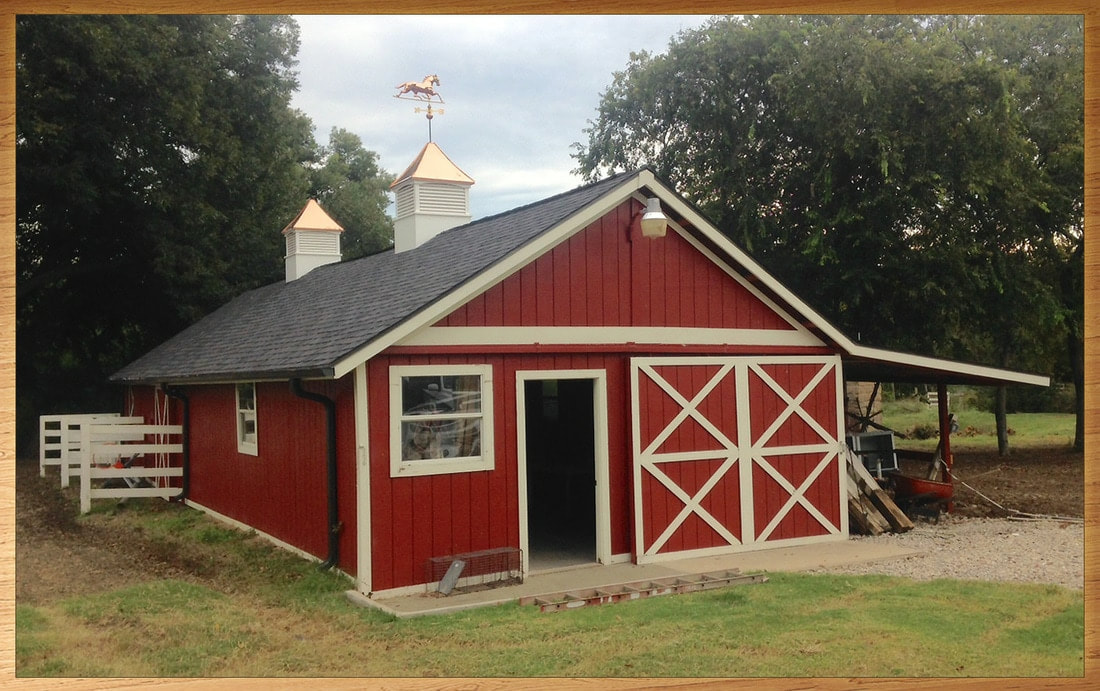
How to Install a Functional Cupola
Step 1. Find and mark the center of your roof. Then mark where your cupola will sit, measuring out from the center mark. (For example, if your cupola base is 30”, measure 15” on either side of the center line.)
Step 2. Cut and remove the section of ridge vent or cap where the cupola will go.
Step 3. Screw together two pieces of 1” x 3” in order to make an angle jig that you will use as a template for your cupola base. Put only one screw in at first so you can pivot the pieces. Put the boards firmly onto each side of the roof, then secure with a second screw, as shown below.
Step 4. Use this template to notch your cupola base to ensure a tight fit to your roof.
Step 5. Cut a hole in the roof that is at least 6” smaller than the inside perimeter of the cupola base. (E.g., a 30” square cupola would have a 24” square hole.) Be sure not to cut any structural members. You are only cutting away the shingles and plywood sheathing.
Step 6. Secure the cupola base to the structural framing members (ridge, rafters) with non-ferrous screws or nails driven at an angle. Do not fasten the cupola to the plywood sheathing alone.
Step 7. Install flashing around the cupola base to ensure a watertight fit.
Step 8. Once the base is installed, all that is left is to finish assembling the cupola. Cupolas come in three sections - base, vents, and roof - to make assembly easier. Place the vents (midsection) on top of the base and attach with 2” screws, using the pre-drilled holes. Then place the roof on the midsection and fasten with screws, again using the pre-drilled holes.
Step 9. (Optional) Finish your cupola with a beautiful weathervane than reflects your style or personality!
If you are looking to install a functional cupola on your home, let the cupola experts at Valley Forge Cupolas pair you up with the cupola of your dreams! Call us today at 866-400-1776.


 RSS Feed